I’ll show you how I host my website abroadbent.com for free using AWS S3 and Cloudflare.
In order to start hosting your static website, you will need to setup accounts for:
- AWS
- Cloudflare
- GitHub (if you would like the same automated pipeline that I use)
Create the S3 Buckets in AWS
Once in AWS, head to the Amazon S3 console. Create 2 buckets, one for your full domain name and one for the top-level name. For example, abroadbent.com and www.abroadbent.com.
We’re going to use the top-level name to store all our files in and we will redirect the bucket prefixed with www. to redirect to the top-level name bucket.
First, create the top-level bucket and select ACLs enabled under the Object Ownership
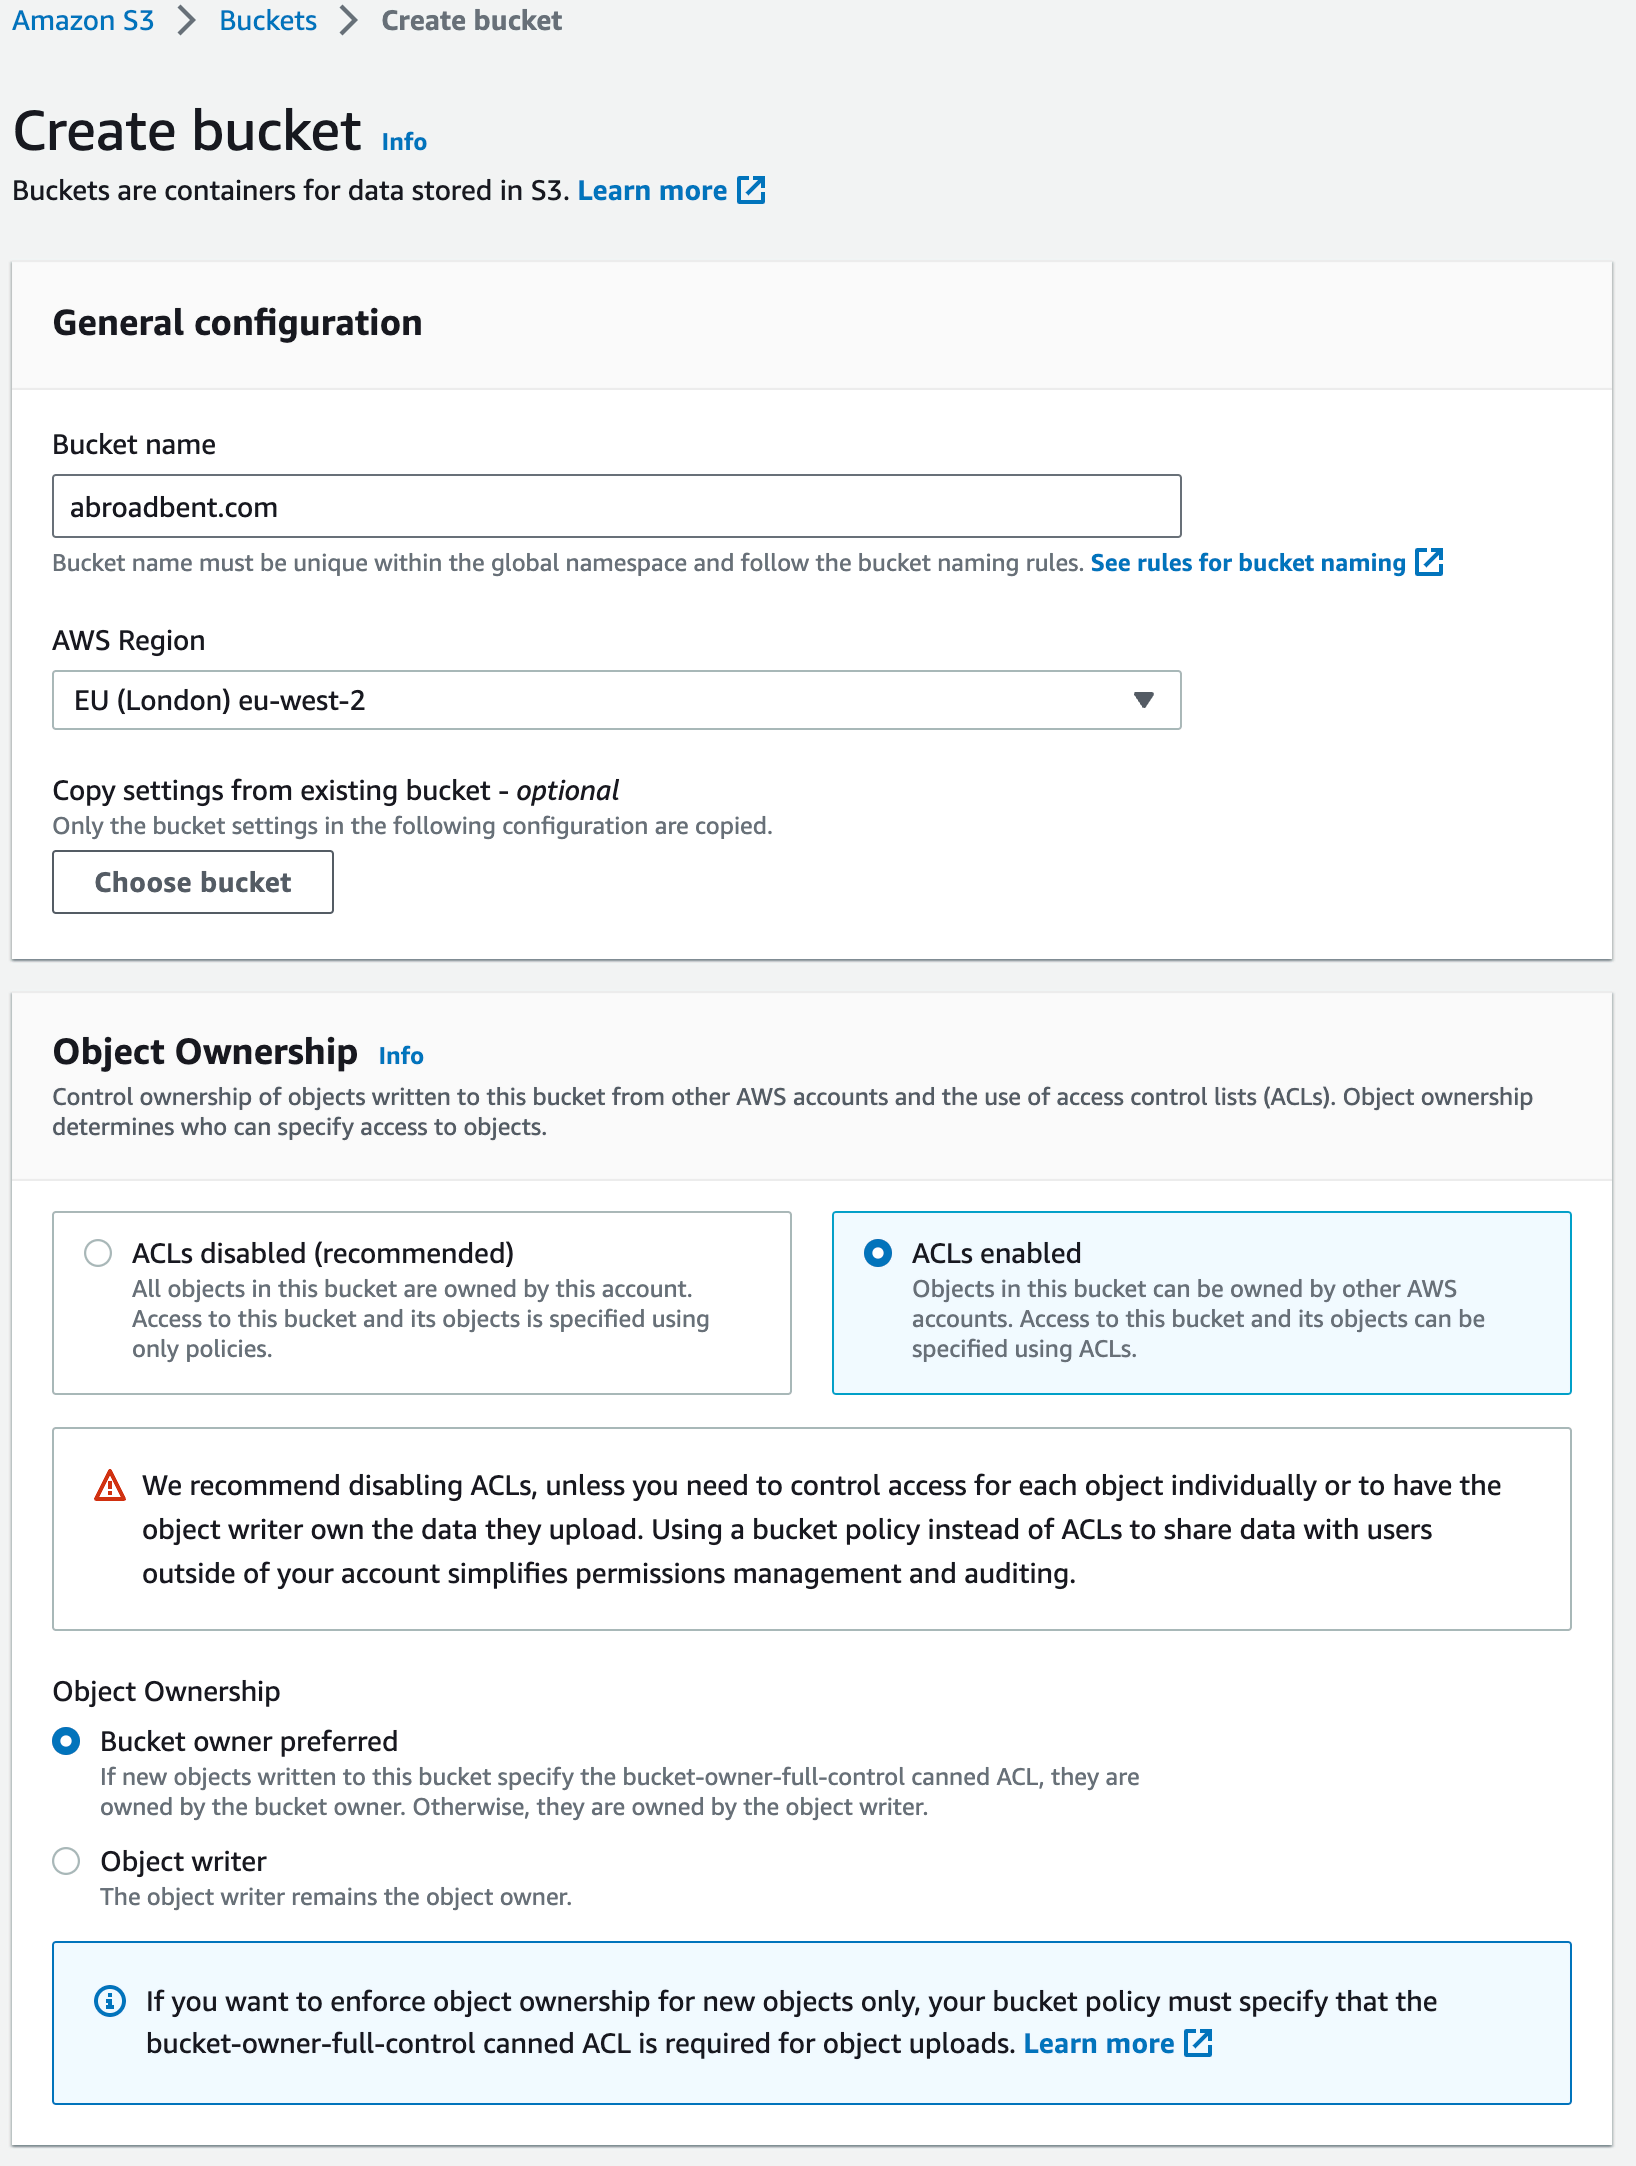
Then uncheck the Block all public access setting and check the acknowledgement at the bottom, we will later scope the access to the bucket so don’t worry about the warnings.
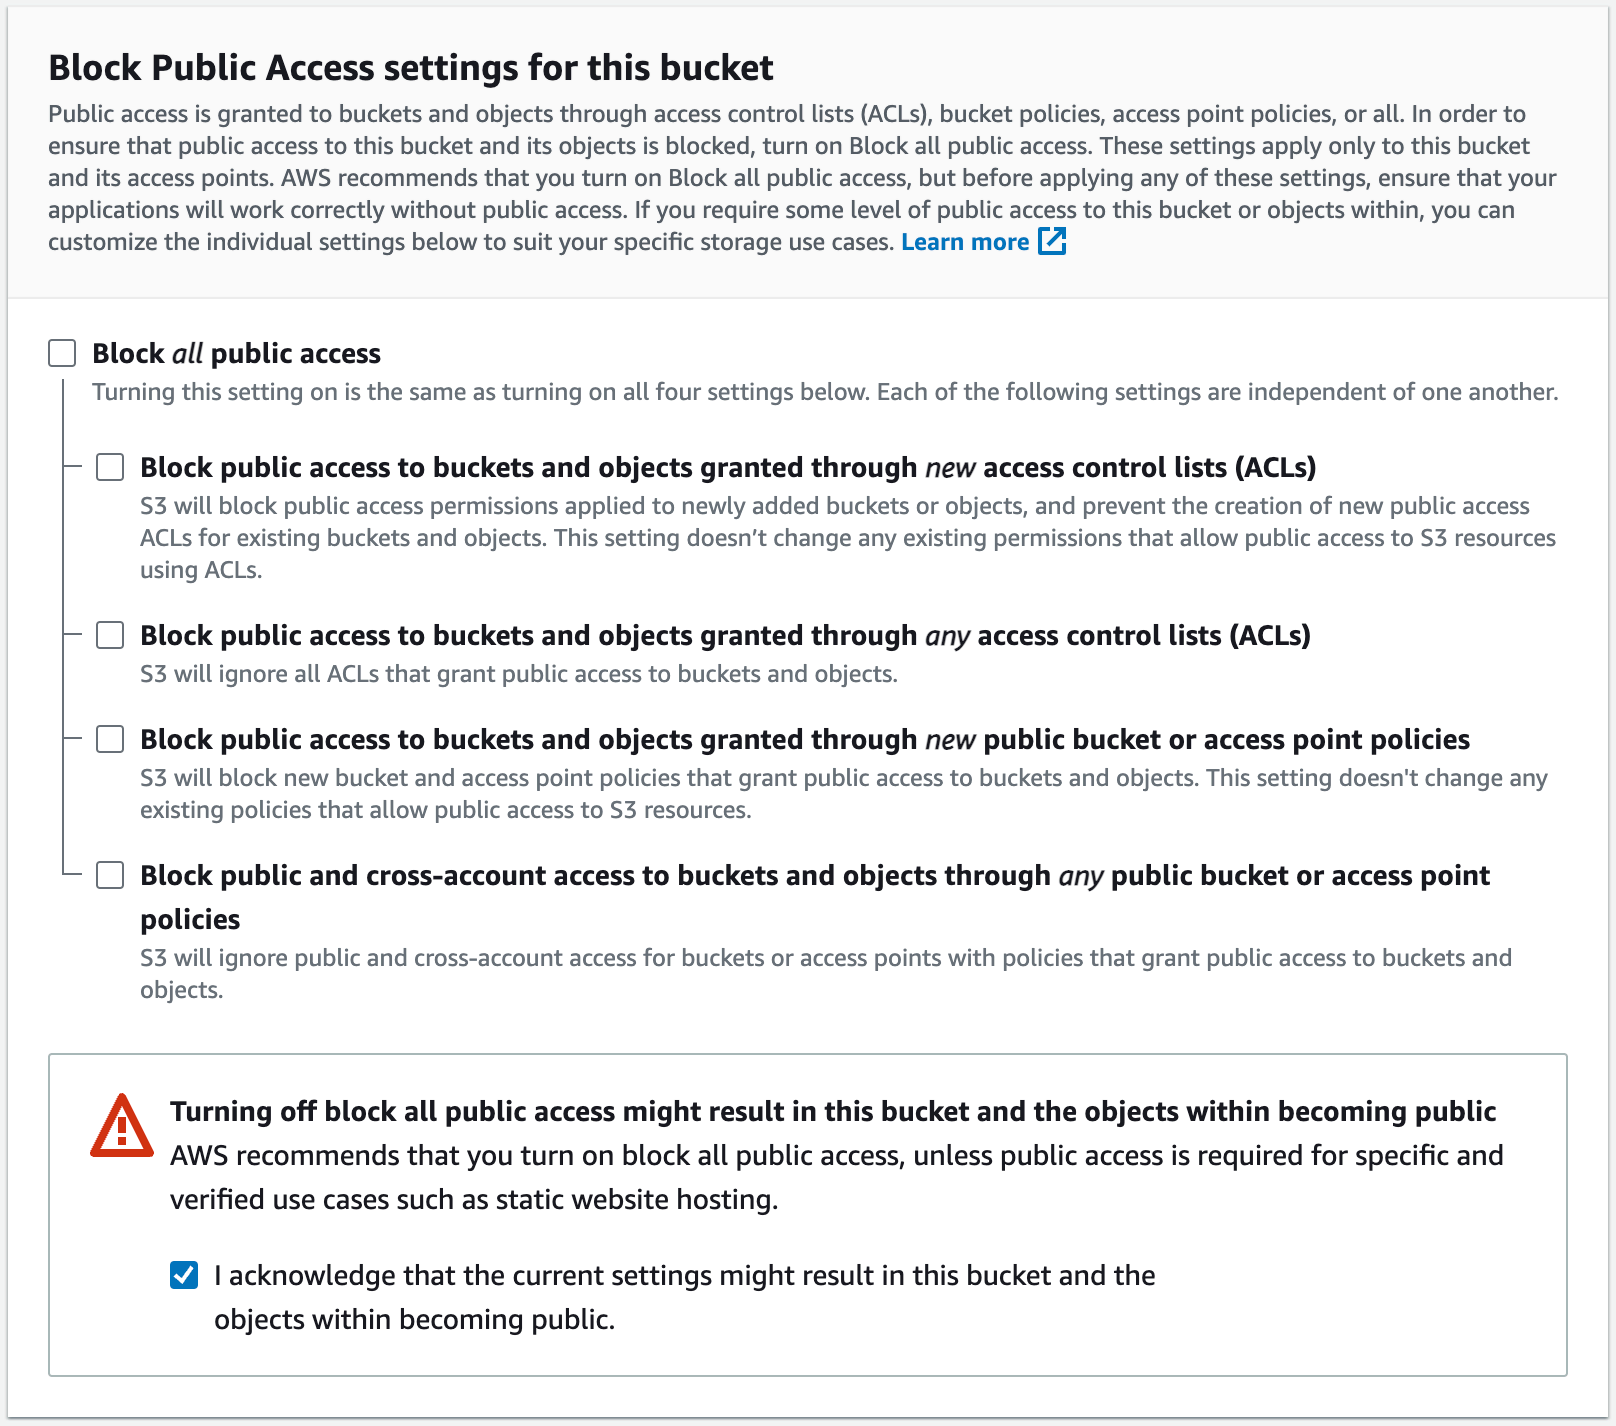
Click the Create bucket button.
Setup Static Hosting
Go into the bucket and head to the Properties tab, then scroll to the bottom to Static website hosting:
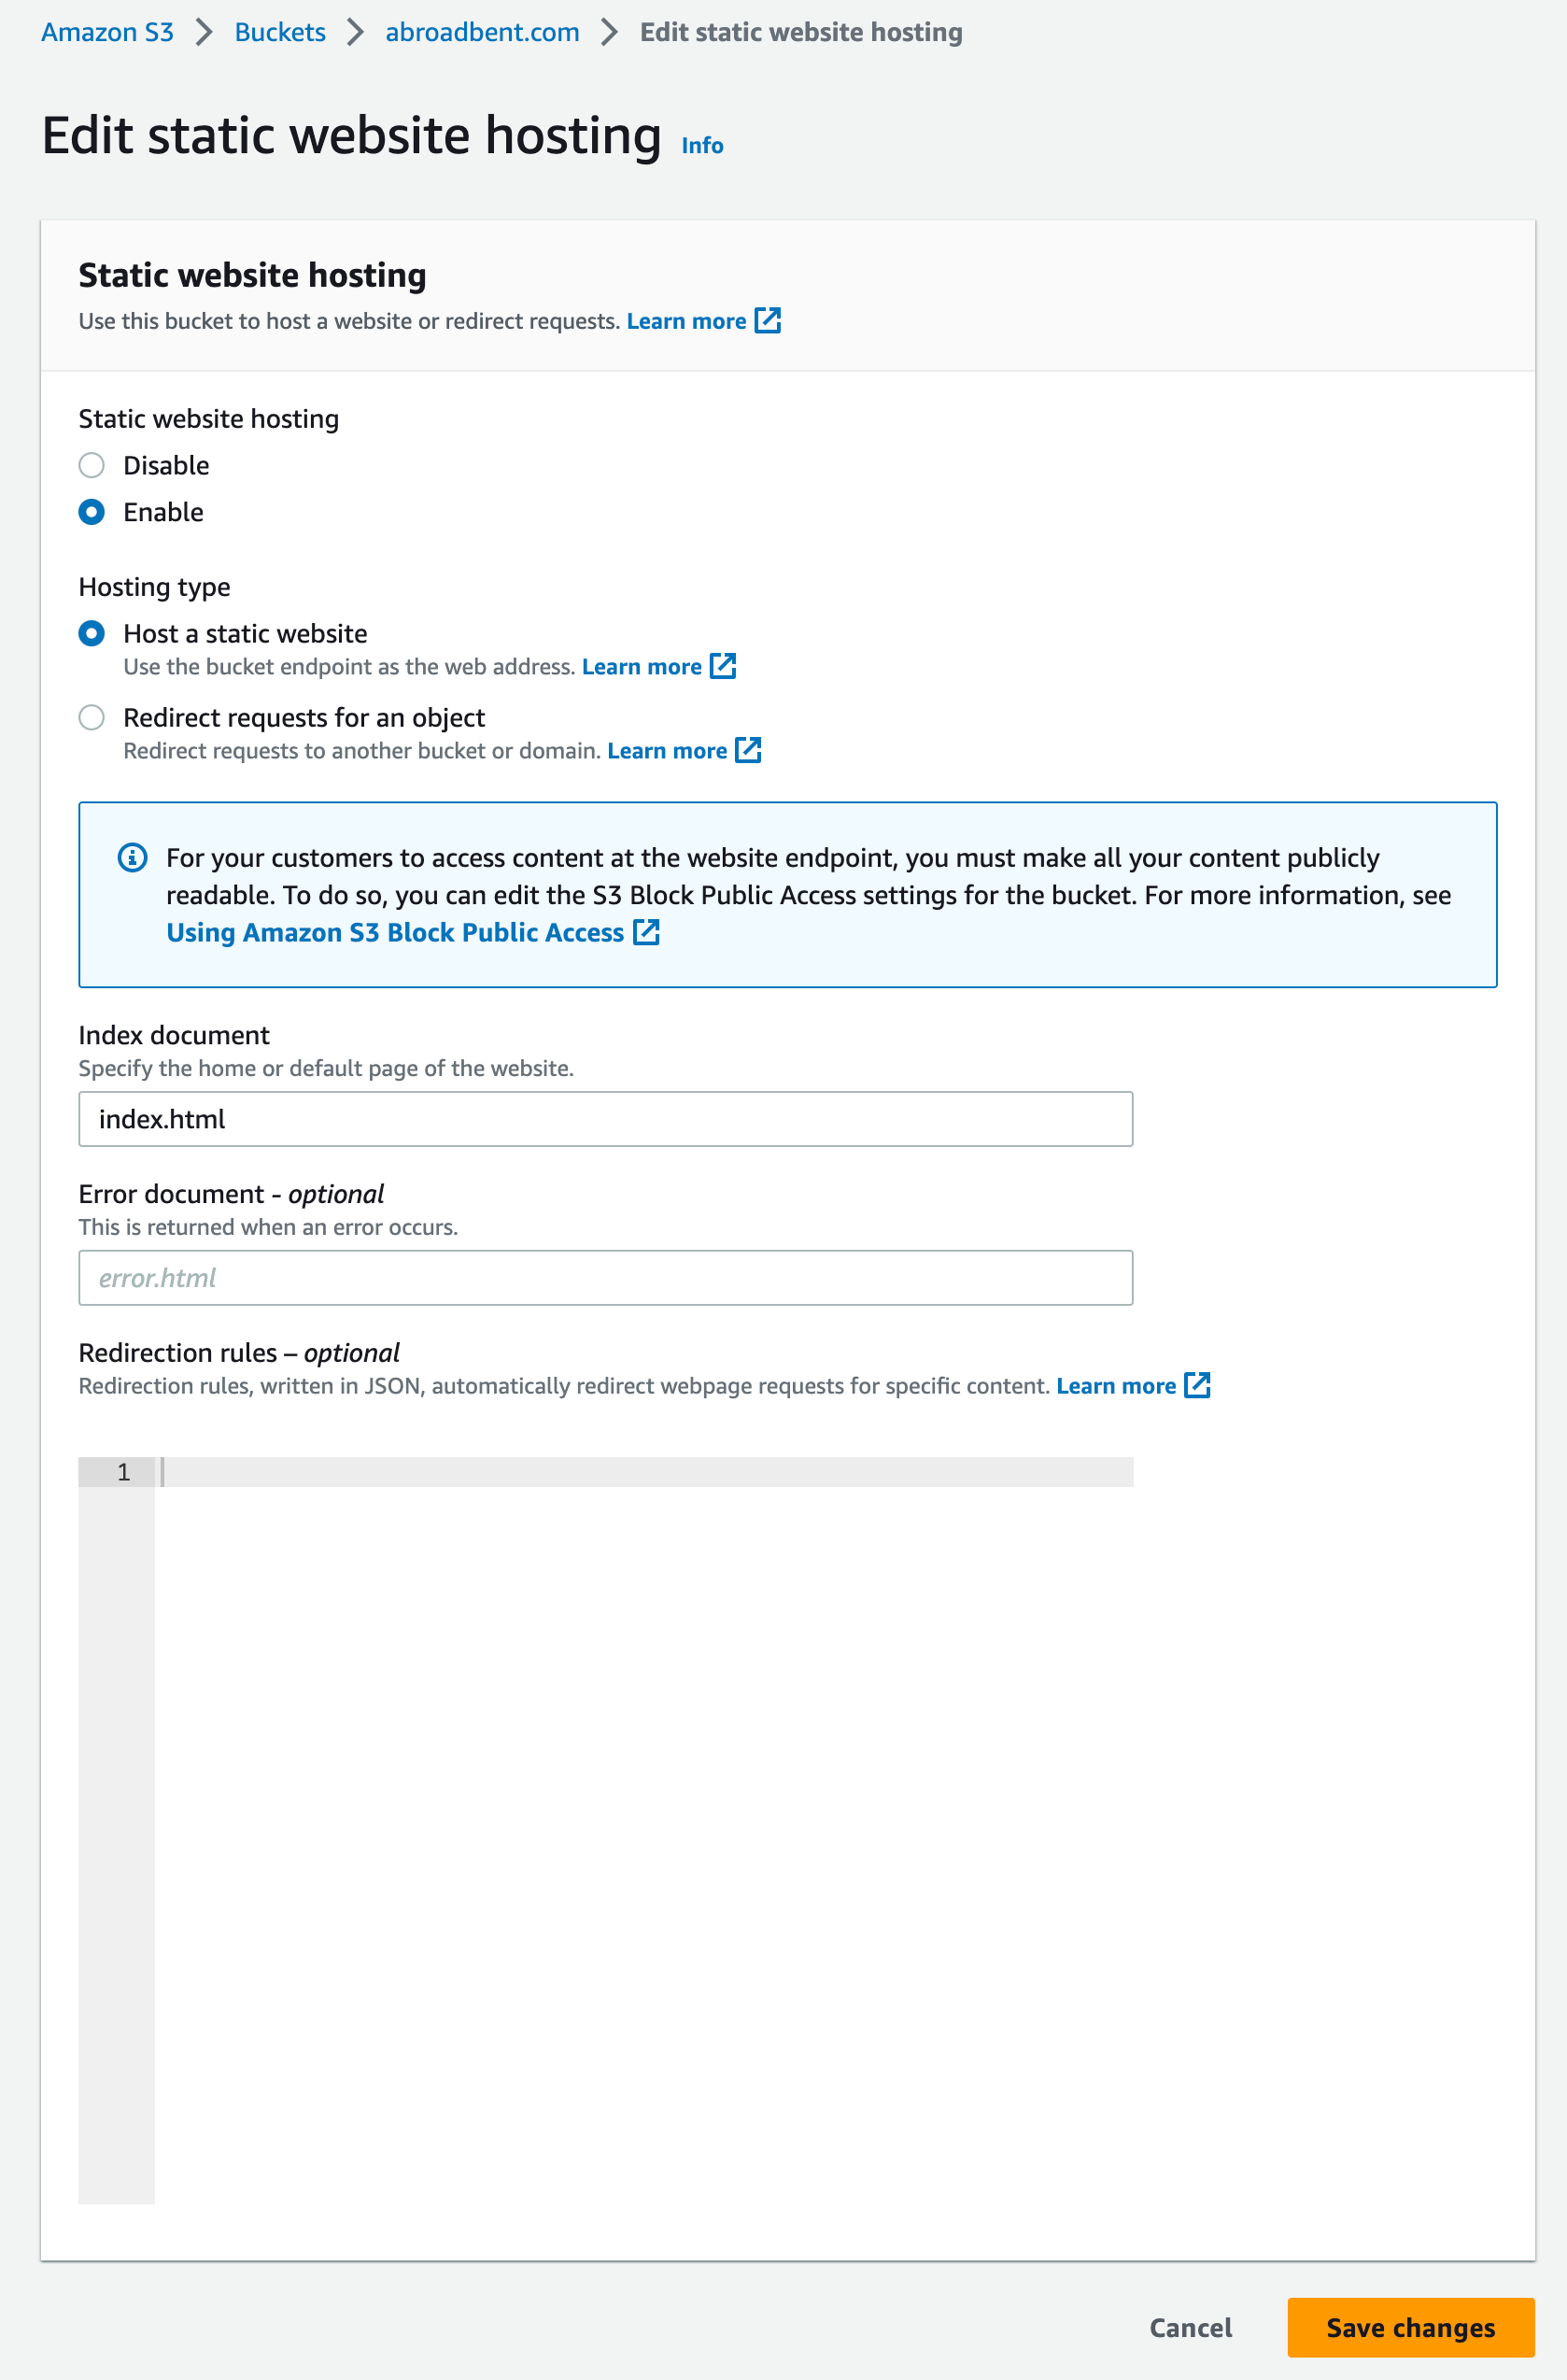
Make a note of the Bucket website endpoint as you will need this later when setting up Cloudflare.
Set hosting to Enable and set the type to Host a static website, for the Index document use whatever the output of your website will be (most likely index.html) and if you have a error page you can specify it for the Error document - optional (this might be error.html or 404.html).
Go to the Permissions tab at the top, from here we’ll restrict only servers from Cloudflare to be able to read any files within the bucket. Scroll down to the Bucket policy and enter the following:
{
  "Version": "2012-10-17",
  "Statement": [
    {
      "Sid": "PublicReadGetObject",
      "Effect": "Allow",
      "Principal": "*",
      "Action": "s3:GetObject",
      "Resource": "arn:aws:s3:::abroadbent.com/*",
      "Condition": {
        "IpAddress": {
          "aws:SourceIp": [
            "173.245.48.0/20",
            "103.21.244.0/22",
            "103.22.200.0/22",
            "103.31.4.0/22",
            "141.101.64.0/18",
            "108.162.192.0/18",
            "190.93.240.0/20",
            "188.114.96.0/20",
            "197.234.240.0/22",
            "198.41.128.0/17",
            "162.158.0.0/15",
            "104.16.0.0/13",
            "104.24.0.0/14",
            "172.64.0.0/13",
            "131.0.72.0/22",
            "2400:cb00::/32",
            "2606:4700::/32",
            "2803:f800::/32",
            "2405:b500::/32",
            "2405:8100::/32",
            "2a06:98c0::/29",
            "2c0f:f248::/32"
          ]
        }
      }
    }
  ]
}
Update the Resource field to be whatever your bucket ARN is (it’ll be listed at the top of the bucket policy editor), the list of IP addresses are published to Cloudflare so get the latest list here.
Create and Setup the www.-prefixed bucket
For the www.-prefixed bucket, create the bucket as before but without setting the public access or policy on the bucket, we are just going to use this to redirect to the other bucket.
To do this, go to the Properties tab on the bucket, under the Static website hosting section at the bottom, enable Redirect requests for an object type and set the Host name to your other bucket (for example, abroadbent.com).
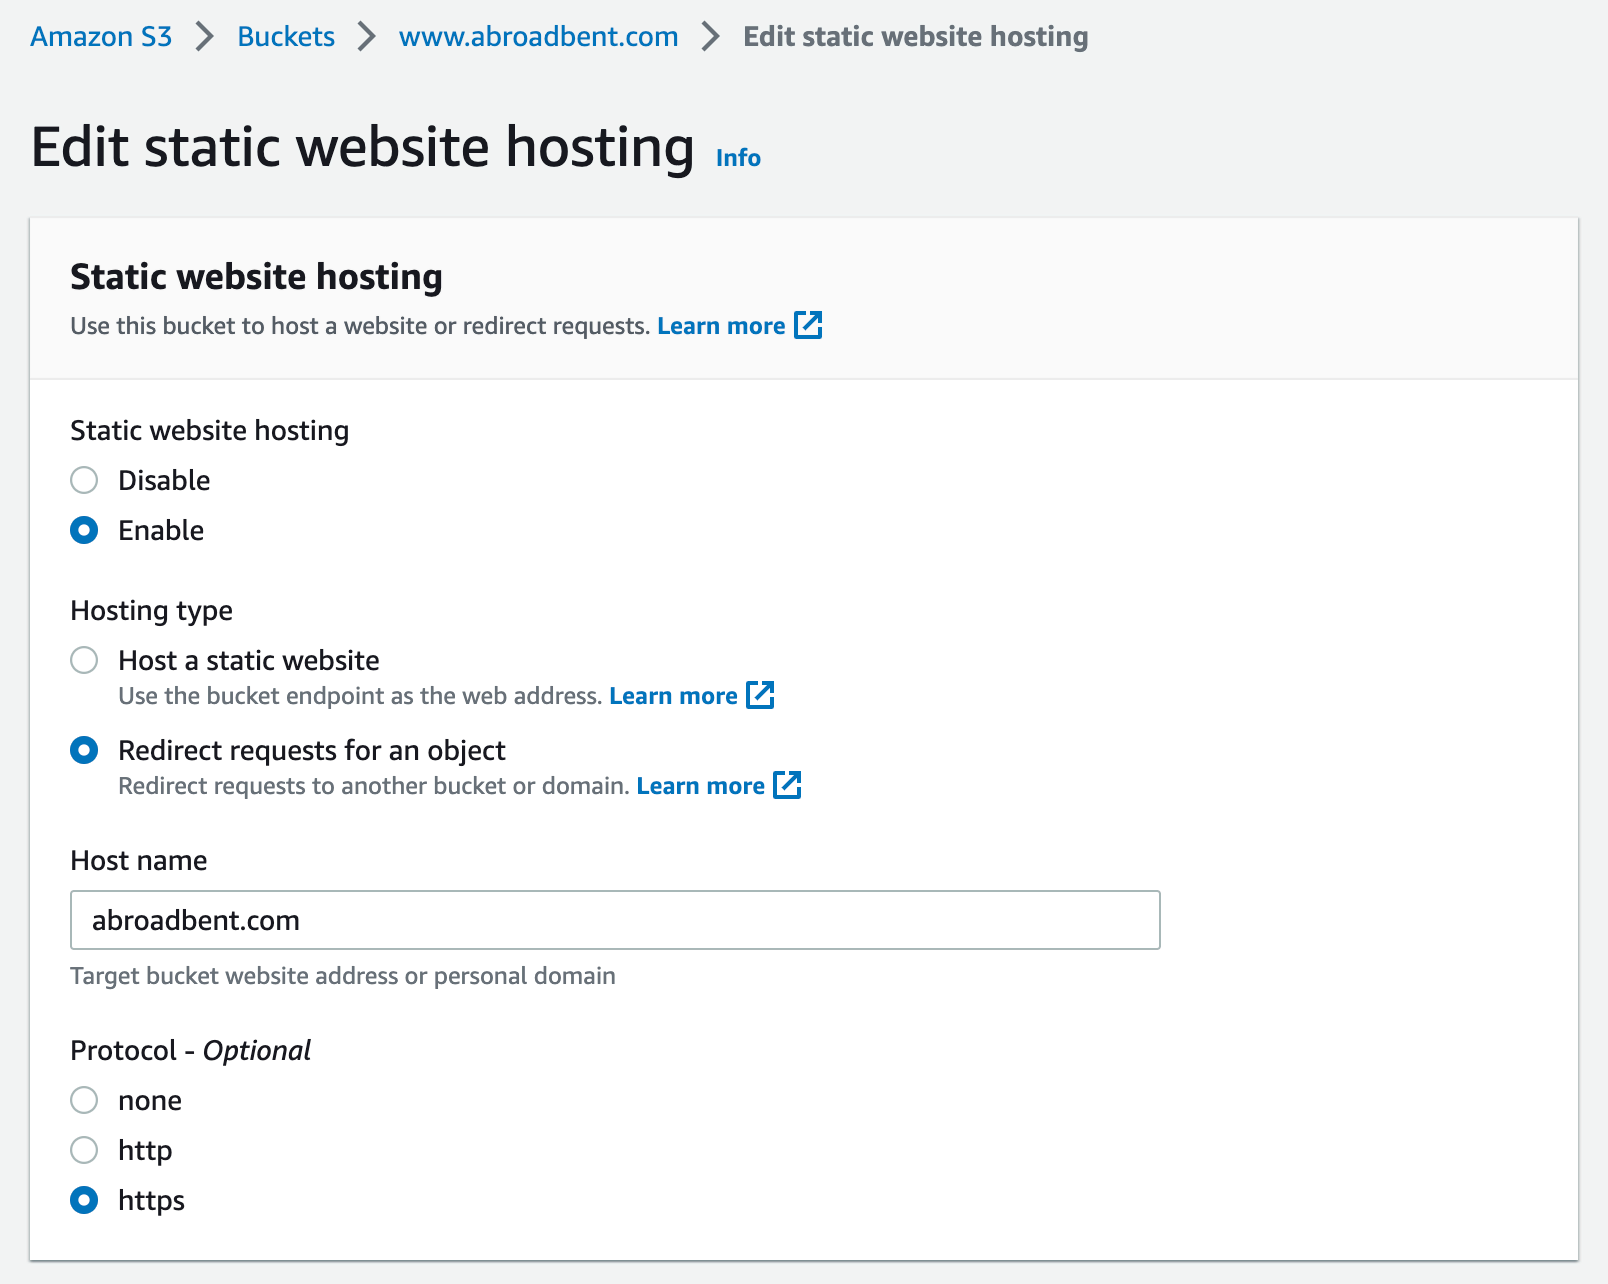
At the bottom of the Properties tab, make a note of the Bucket website endpoint for this bucket too.
Setting up Cloudflare
Putting Cloudflare in front of your static website will ensure that the number of calls are reduced to the AWS S3 bucket which will reduce the cost of your website, mine so far has not cost anything but this can differ depending on how many users you have and if you have more dynamic content on your website.
Adding a site
Once in Cloudflare, click Add site and enter your domain name.
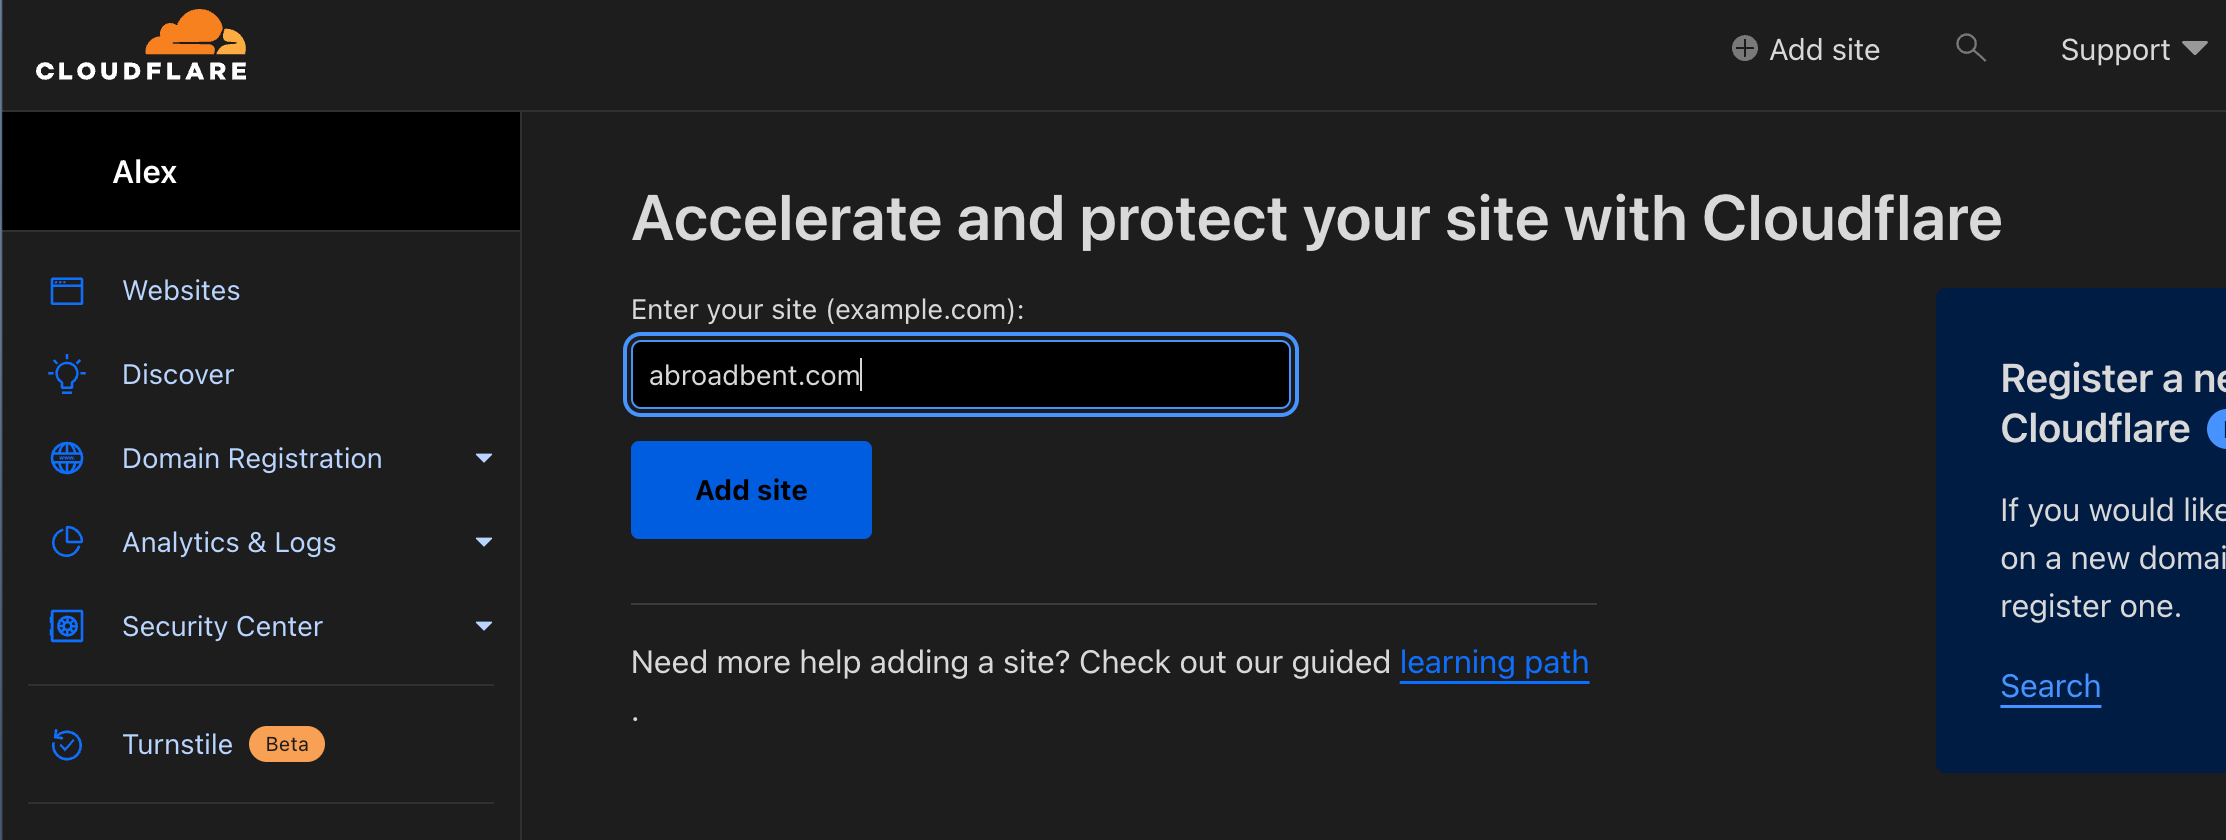
Select the Free plan at the bottom of the plans.
Cloudflare will then check your current DNS settings and give you the option to add more, this is where we’ll add our AWS S3 hosted website.
Pointing to the S3 Bucket
Add a CNAME record with the domain name (for example, abroadbent.com) and set the content to your Bucket website endpoint (found at the bottom of the Properties tab of your bucket).
You can also set your www-prefixed bucket up with the content of your www.abroadbent.com equivalent Bucket website endpoint.
So your settings will look something like:
| Type | Name | Content |
|---|---|---|
| CNAME | abroadbent.com | abroadbent.com.s3-website.eu-west-2.amazonaws.com |
| CNAME | www | www.abroadbent.com.s3-website.eu-west-2.amazonaws.com |
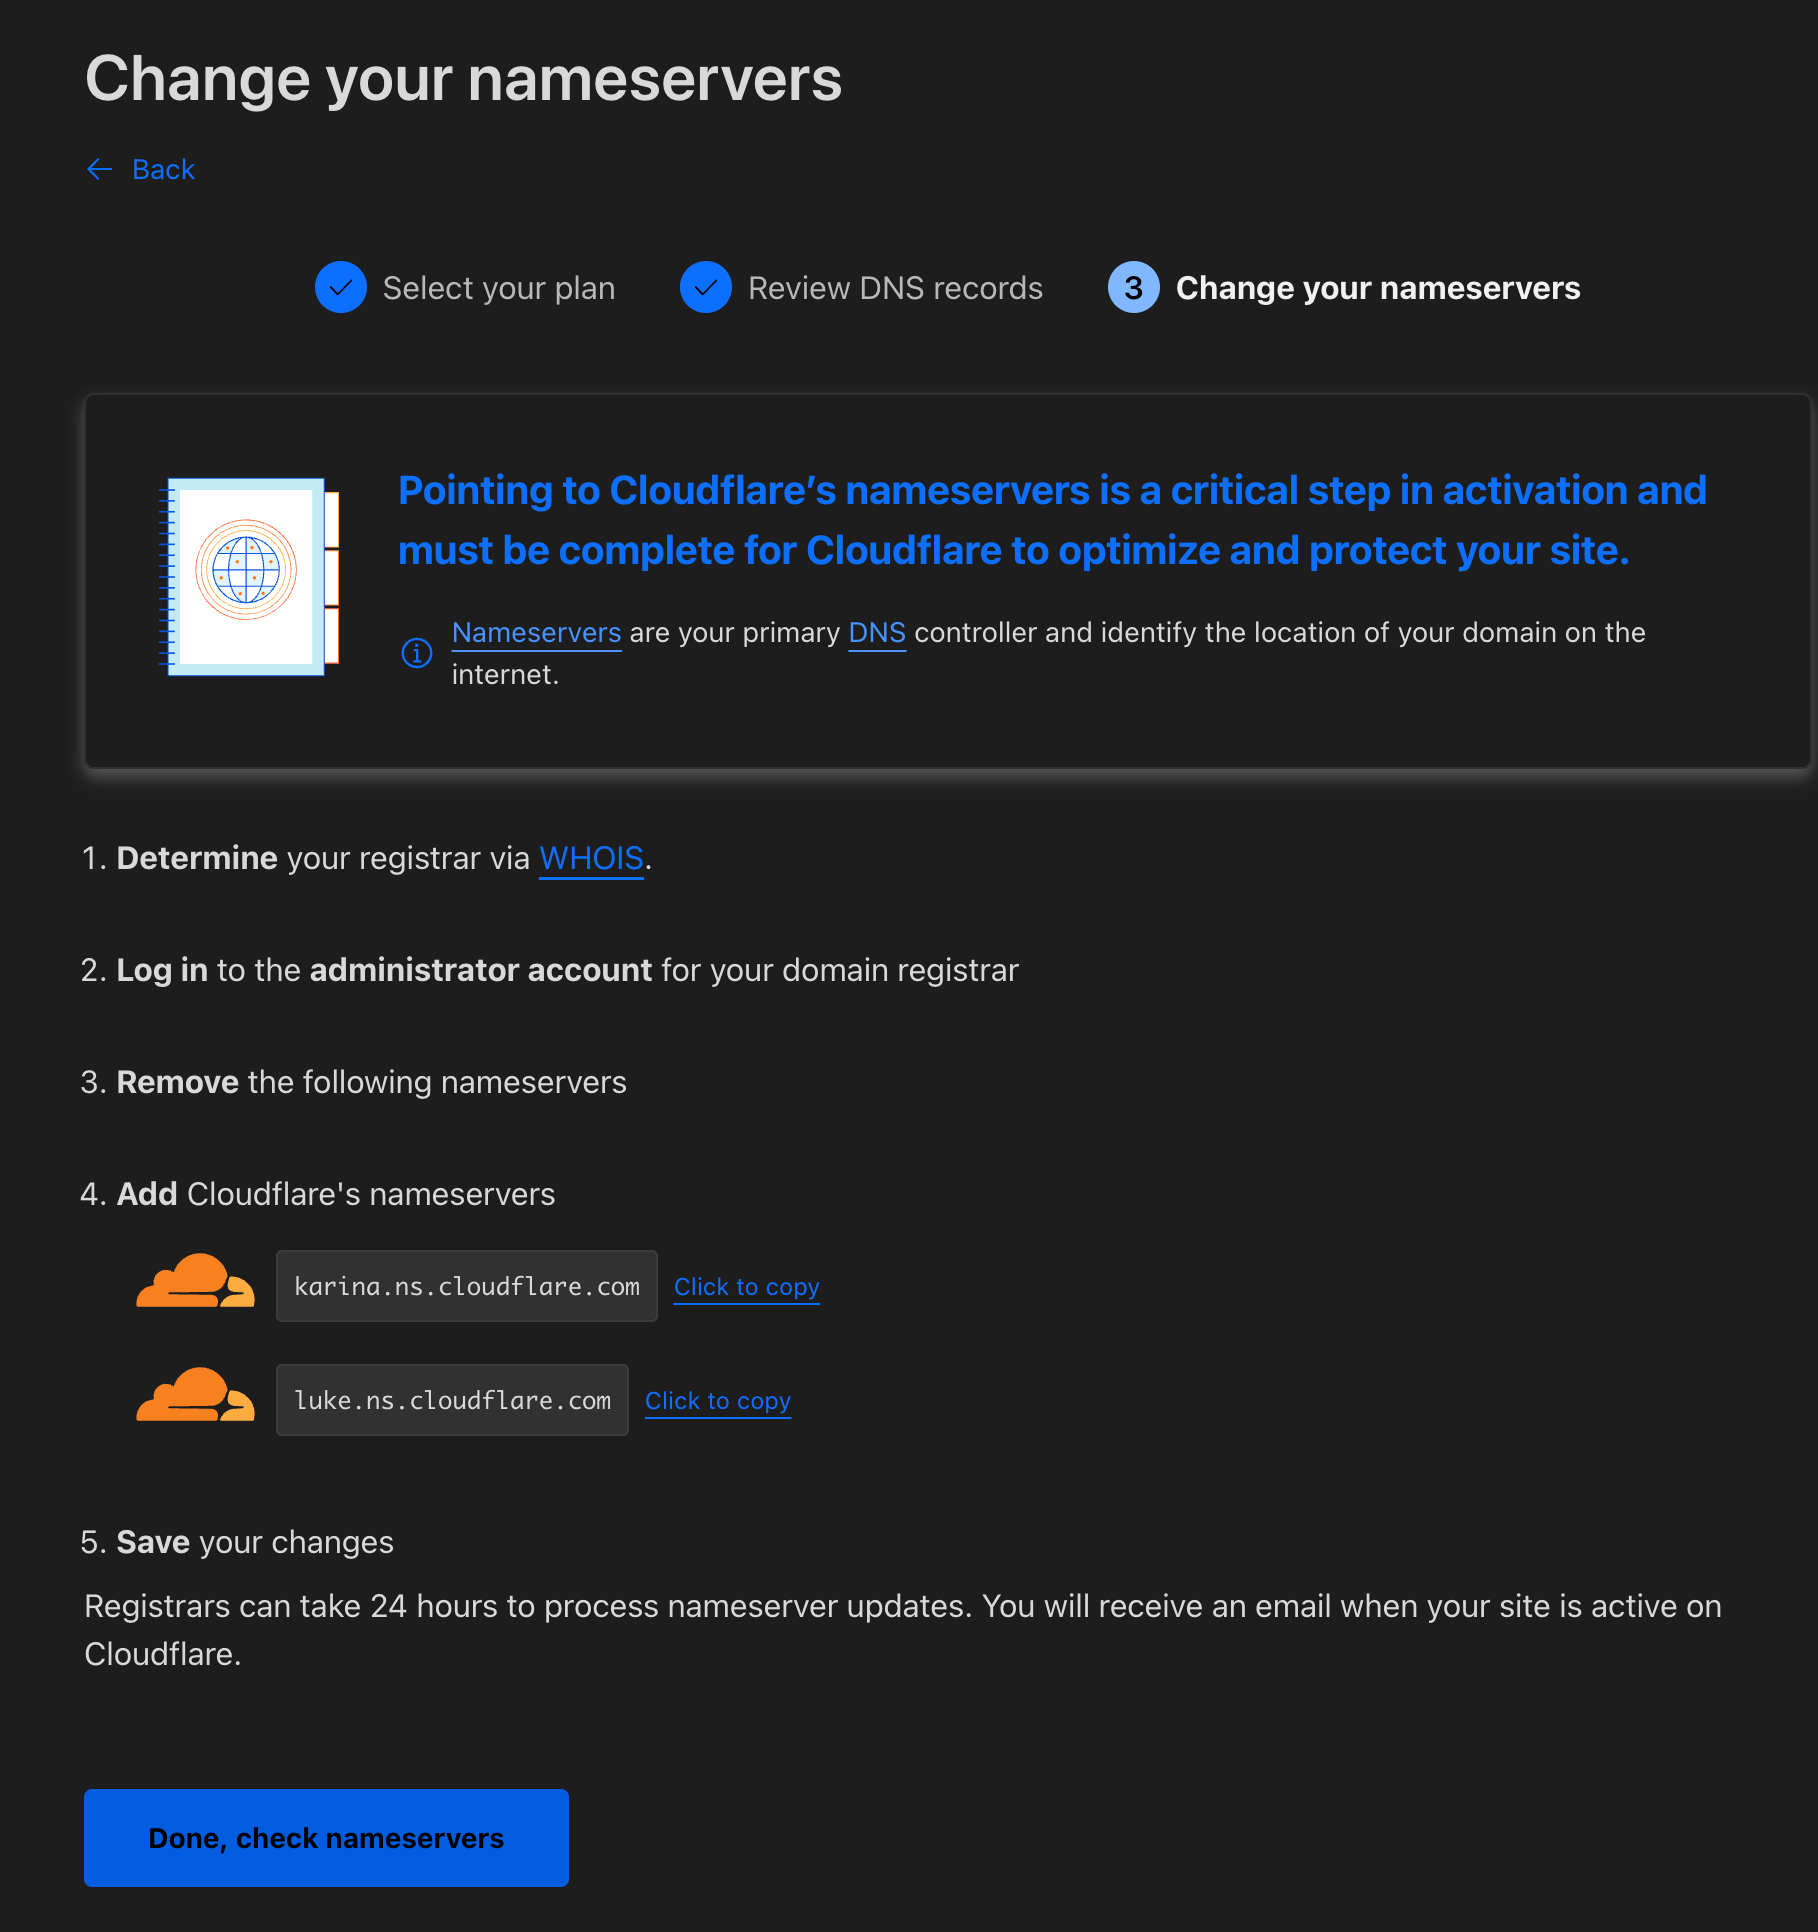
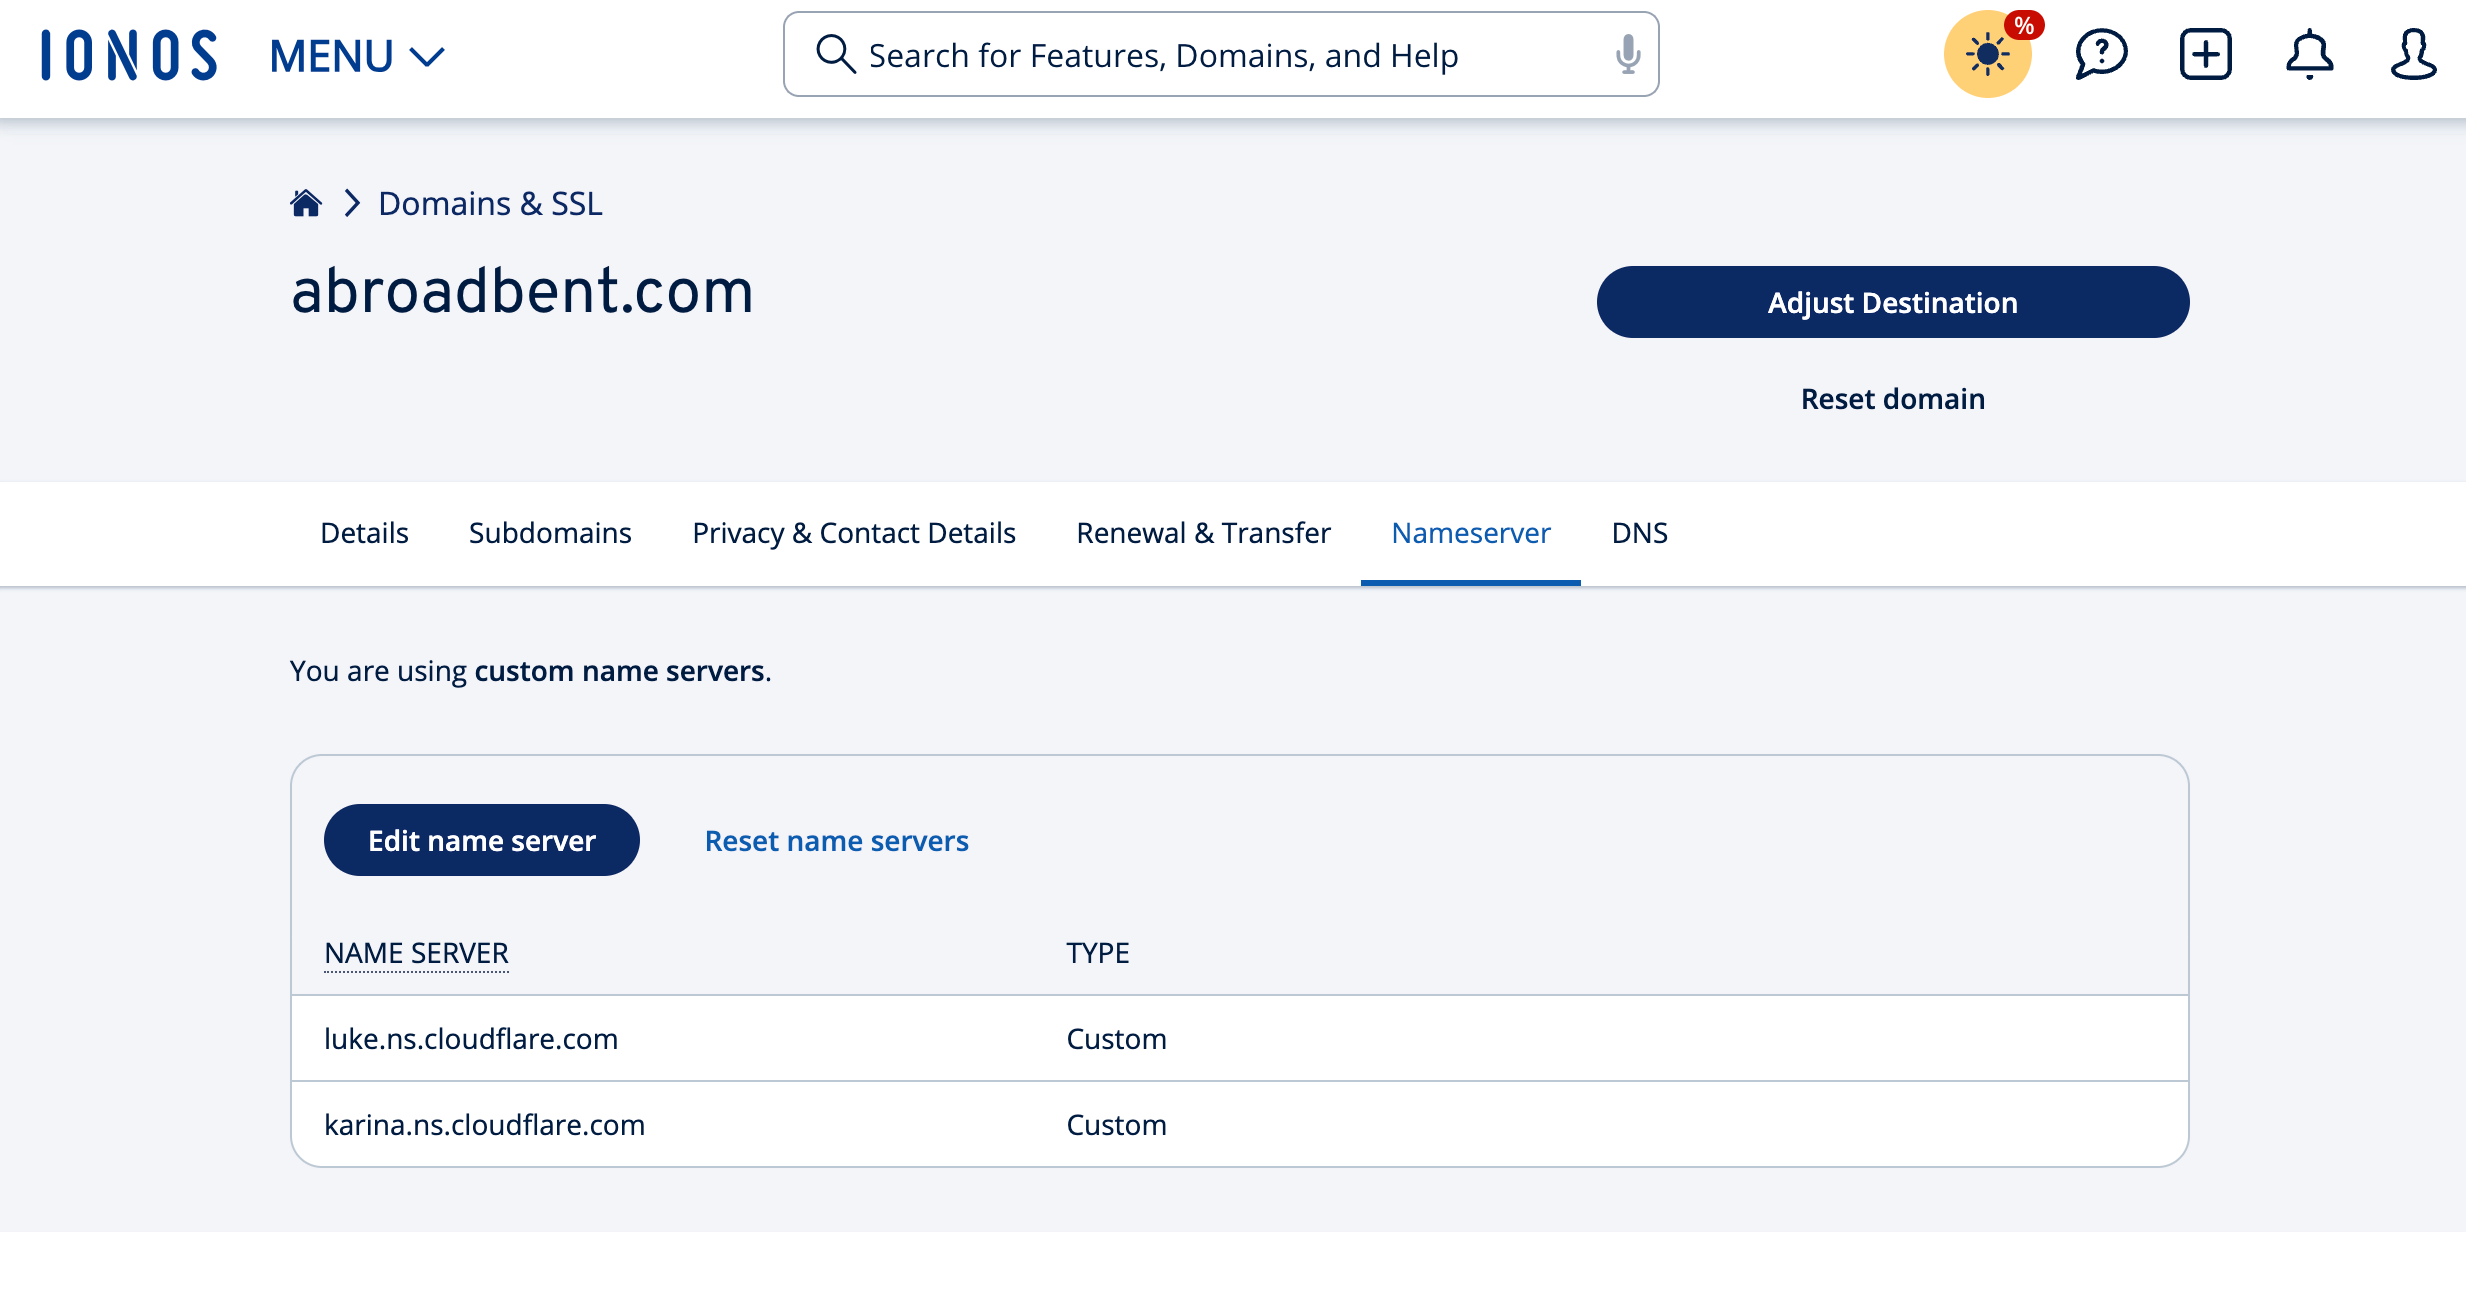
Update your domain registrar
Press Continue and then Cloudflare will give you the nameservers which you need to set on your domain registrar.
For me, this was in IONOS:
Ensuring SSL Certificates are setup
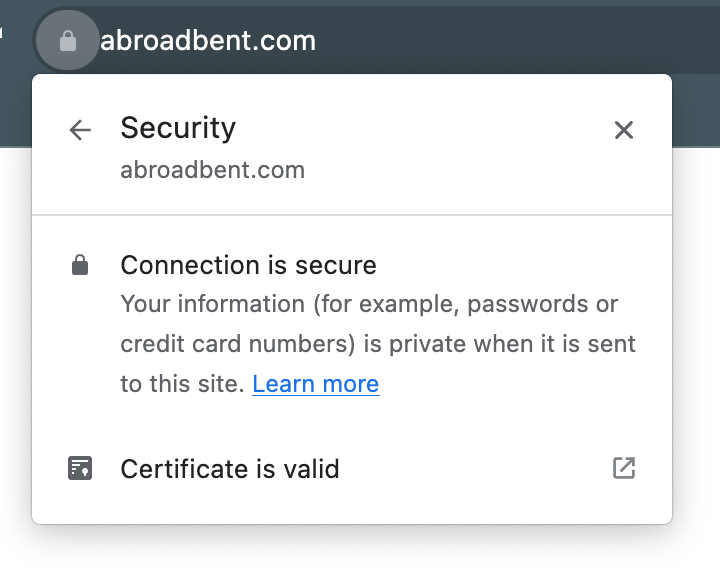
Under SSL/TLS, check that your encryption mode is set to Flexible.
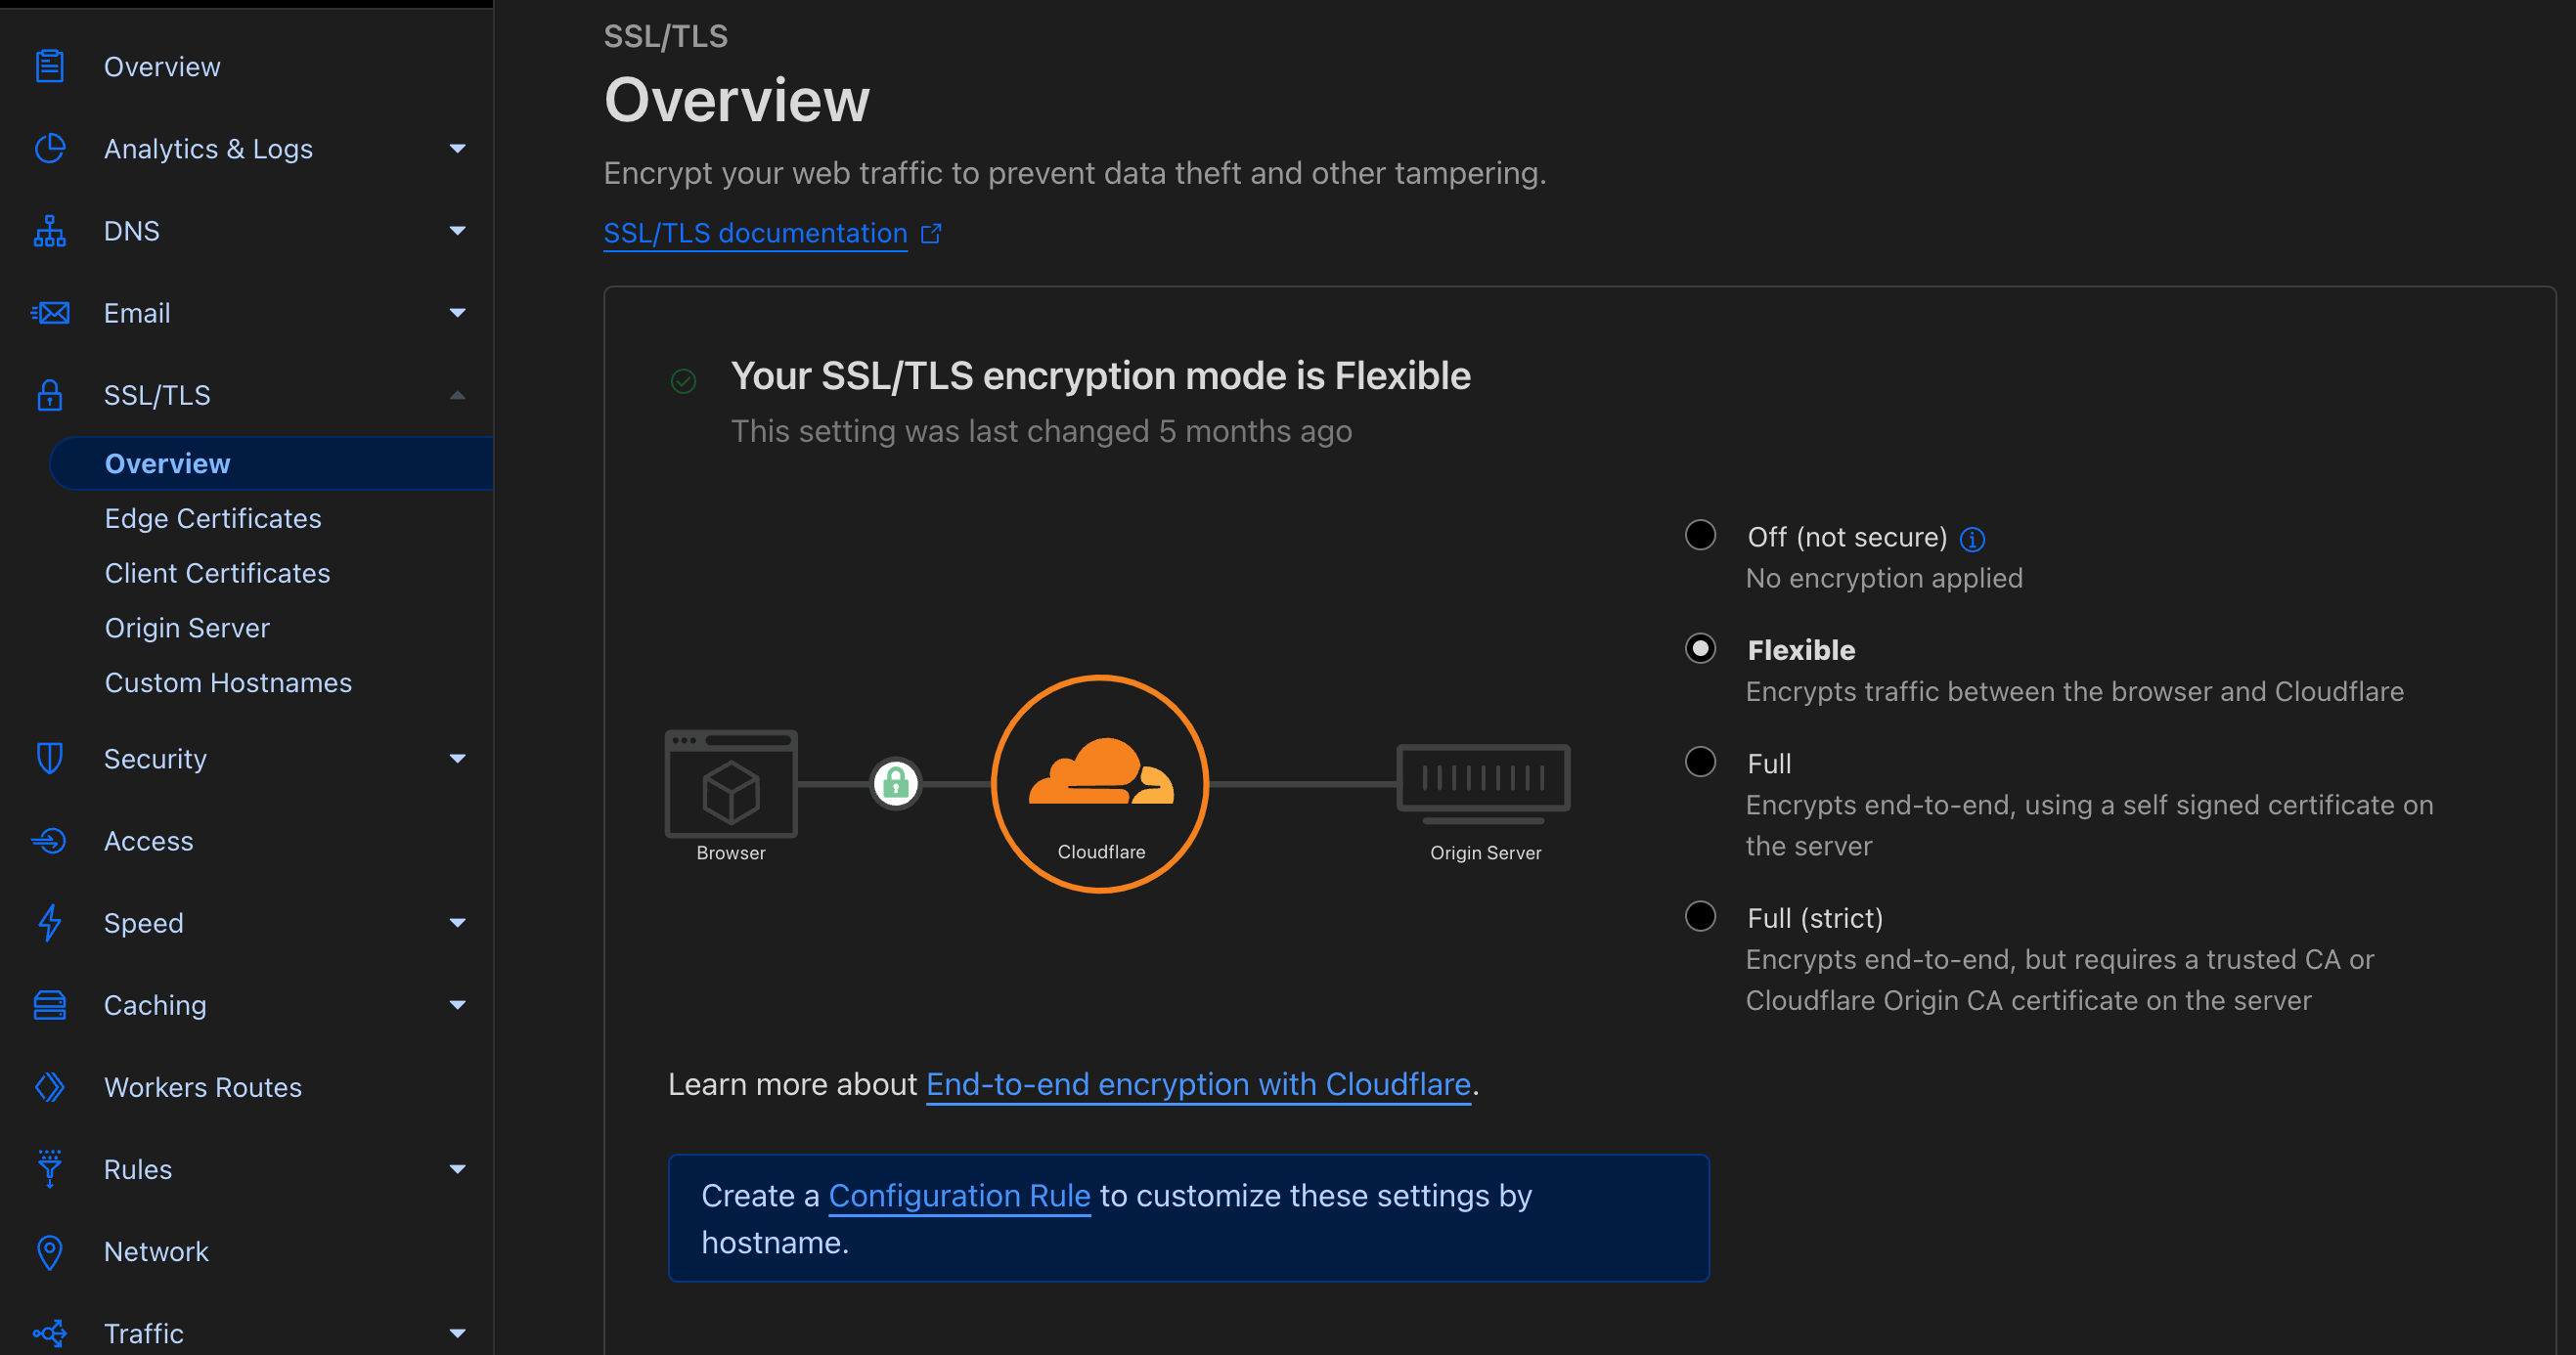
This will ensure that your domain is marked as secure when viewing in a browser.
Automating your static website
For my website, I have a private repository in GitHub, which automatically deploys any changes when merged into the main branch.
Automatically Deploying to AWS S3
Here’s my GitHub Workflow for deploying the output of your build folder to the AWS S3 bucket. Ensure you setup an AWS Key ID and Secret Access Key for authentication and use the name of your bucket that you want to upload to.
name: deploy

on:
  push:
    branches:
      - main

jobs:
  deploy:
    runs-on: ubuntu-latest
    steps:
      - uses: actions/checkout@v3
      - uses: actions/setup-node@v3
        with:
          node-version: 18
          cache: 'yarn'
      - run: yarn install
      - run: yarn run build
      - uses: shallwefootball/s3-upload-action@master
        with:
          aws_key_id: ${{ secrets.AWS_KEY_ID }}
          aws_secret_access_key: ${{ secrets.AWS_SECRET_ACCESS_KEY }}
          aws_bucket: ${{ secrets.AWS_BUCKET }}
          source_dir: 'build'
          destination_dir: ''
Extending the setup
Subdomains
You can add any number of subdomains to your website in the same way, for example my blog website (https://blog.abroadbent.com) is hosted through AWS and S3, which is setup exactly the same as my top-level domain is setup above.
Email forwarding
Cloudflare also offers an email forwarding service, which will automatically set up handling email with your domain name and then forwarding it onto your personal email address. This means that [email protected] routes through to my personal email address which keeps it private from the website.